Step 1: Download and Install XAMPP
- Download XAMPP from the official Apache Friends website: Apache Friends (XAMPP)
- Once the download is complete, run the installer and follow the installation wizard.
- After installation, start Apache and MySQL from the XAMPP Control Panel.
- Verify that the local server is working by opening your web browser and visiting:
http://localhost/If the XAMPP welcome page appears, the installation was successful.
Step 2: Add the WordPress Files
- Download the latest version of WordPress from: WordPress.org
- Navigate to the XAMPP installation directory:
C:\xampp\htdocs - Inside the htdocs folder, create a new folder for your website (for example,
testsite). The folder name becomes part of your site’s URL.Example:http://localhost/testsite - Extract the downloaded WordPress ZIP file into the newly created folder.
Step 3: Create a Database for WordPress
- Open the XAMPP Control Panel and ensure MySQL is running.
- Launch phpMyAdmin by visiting:
http://localhost/phpmyadmin - Click New in the left sidebar.
- Enter a database name (e.g.,
wordpress_db) and click Create. - Remember the database name, as you will need it during the WordPress installation.
Step 4: Install WordPress
- Open your browser and navigate to:
http://localhost/testsite(Replacetestsitewith your folder name.) - Select your preferred language and click Continue.
- When prompted for database information,
- Database Name :wordpress_db (or your database name)
Username : root
Password :(leave blank)
Database Host : localhost
Table Prefix : wp_
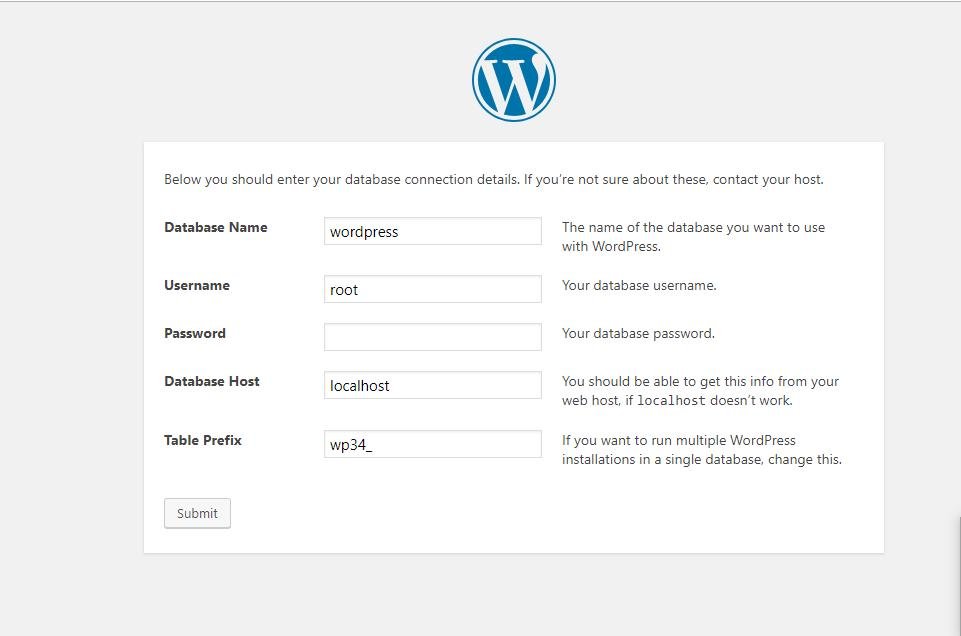
- Click Submit and then Run the Installation.
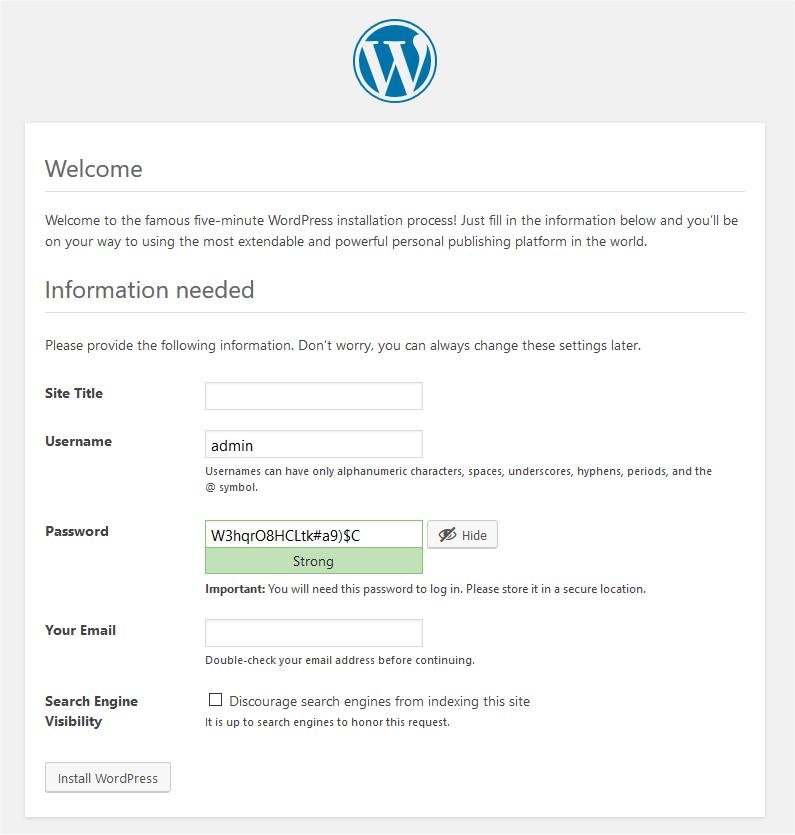
- Enter your website details:
- Site Title
- Username
- Password
- Email Address
- Click Install WordPress.
Completion
After the installation is finished, log in to the WordPress dashboard at:
http://localhost/testsite/wp-adminYou should now have a fully functional WordPress website running on your local computer.