One way to optimize your WordPress is to install WP Super Cache, which can be done from your WordPress Dashboard under Plugin.
WP Super Cache is a web performance plugin that helps customers manage caching behavior of their website inside the WordPress Dashboard. It comes with a built-in feature as well as integrating other web performance features.
installation
- Log in to the WordPress Admin.
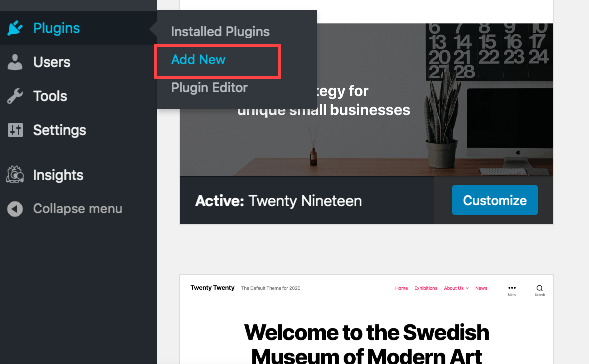
- Click the Plugins tab from the side navigation menu to the left, and select Add New.
- In the plugin search box, enter WP Super Cache and hit Enter.
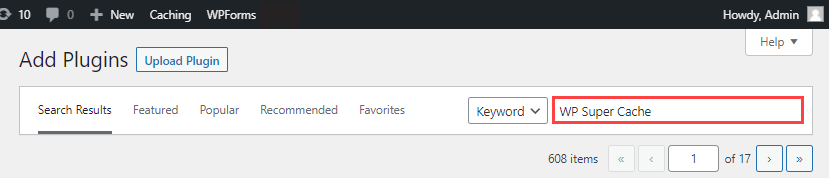
- Click Install Now.
Configuration
Complete the 4 Steps below to set up and use the WP Super Cache Plugin successfully.
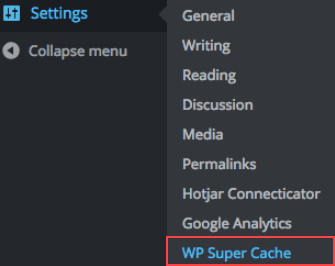
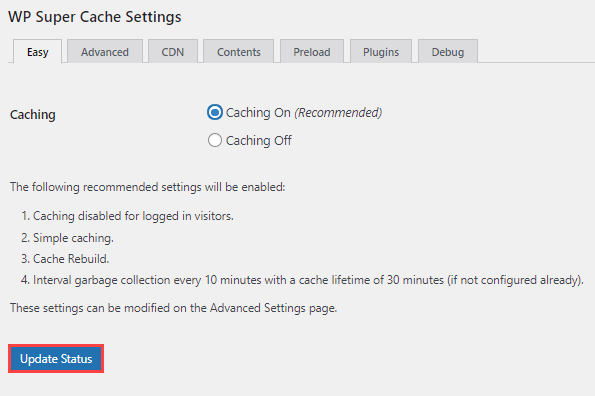
Step 1: WP Super Cache – General Settings
- On the WordPress Dashboard, click the Settings tab from the side navigation menu to the left and select WP Super Cache.
- Under the Easy tab from the navigation menu that stretches across the top of your screen, click the radio button for the Caching On (Recommended) option and select the Update Status button.
Step 2: Advance Cache Configuration
Select the Advanced tab and configure the options to fit your website best.
Ensure that the Cache Delivery Method section is set to Simple (Recommended).
